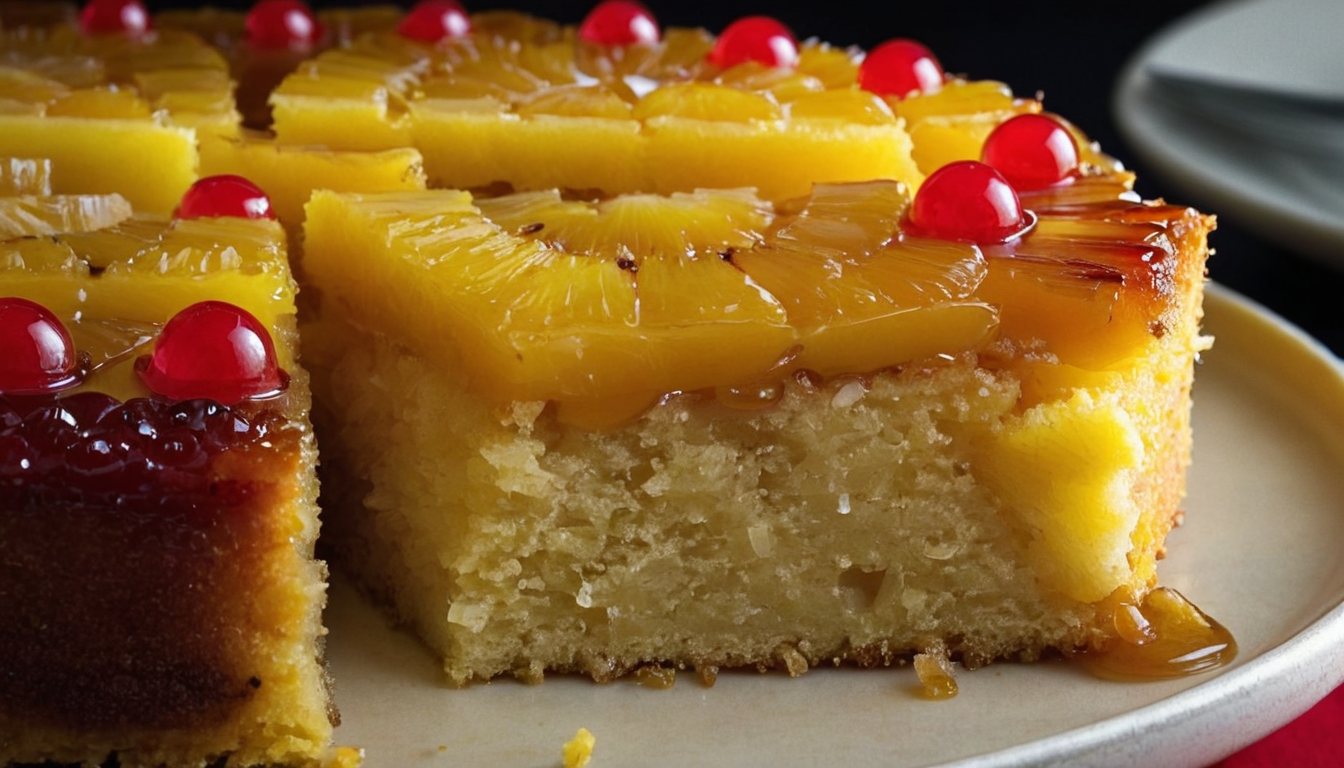
Imagine this: a moist, buttery cake with a gooey, caramelized layer of brown sugar and pineapple rings, topped off with cherries for that perfect tangy finish. Now, imagine making this classic dessert in a skillet. Yes, you heard me right! My Skillet Pineapple Upside-Down Cake is an irresistible dessert that’s perfect for any occasion. Originating from the early 20th century, this cake’s history is as rich and enticing as its flavor. The ‘upside-down’ method started when cakes were cooked in cast-iron skillets over a fire. It’s a tradition that I love to keep alive in my own kitchen. Not only does the skillet give the cake a beautiful rustic look, but it also creates a wonderfully even heat for baking. One of my favorite things about this recipe is how the pineapple and cherries caramelize and infuse the cake with their sweet, fruity flavors. It’s a taste sensation that’s hard to beat! And don’t worry, you don’t need to be a master chef to pull off this cake. It’s simple, straightforward, and oh-so rewarding when you flip it over to reveal the stunning pineapple and cherry design. I can’t wait for you to give it a try!
Ingredients
- 1/4 c. butter
- 1 c. brown sugar
- 8 slices canned pineapple
- 8 maraschino cherries
- 3 eggs, beaten
- 1/2 tsp. salt
- 1 1/2 c. cake flour, sifted
- 1 tsp. vanilla
- 1 1/2 tsp. baking powder
- 3/4 c. scalded milk
- 2 Tbsp. butter
- 1 1/2 c. sugar
Baking Instructions
- Melt butter in skillet.
- Spread brown sugar evenly over butter. Place 1 slice of pineapple in center of the skillet.
- Arrange other slices around the center slice.
- Place a cherry in center of each pineapple slice.
- Cover with the following batter.
Calorie: 400
Total cooking time: 45 minutes
Difficulty level: Intermediate
The Great Pineapple Upside-Down Cake Caper
Who doesn’t love a good old fashioned Skillet Pineapple Upside-Down Cake? Well, except for my cousin Jerry, who insists that pineapples should only be used for tropical cocktails and Hawaiian pizza. But let’s not delve into his questionable food preferences.
The Butter-Sugar Symphony
The first step in our culinary journey begins with melting butter in a skillet. Now, I know what you’re thinking, “I melt butter all the time, what’s so special about that?” Well, my friends, this isn’t just any butter, it’s the 1/4 c. of butter that’s going to act as the base of our cake. The butter begins to melt, and I can’t help but feel like a conductor of a buttery symphony. Next, I add 1 c. of brown sugar, spreading it evenly over the butter, creating a sugary blanket that I’m sure any sweet tooth would love to snuggle under.
The Pineapple Placement Predicament
Now, it’s time for our main star – the canned pineapple slices. These aren’t just any pineapple slices; they’re the ones that will bring a tropical twist to our cake. I place one slice in the center of the skillet, like a sun amidst a sugary galaxy. The rest of the slices are arranged around the center slice, creating a beautiful pineapple solar system. I have to say, arranging pineapple slices in a circular pattern is trickier than it looks. I now have newfound respect for those pineapple pizza makers.
The Cherry on top (or bottom?)
Next, we add the maraschino cherries, placing one in the center of each pineapple slice. I’ve always found maraschino cherries to be such divas, always wanting to be the center of attention. But in this case, their vibrant color adds a delightful contrast to the golden pineapples.
The Batter Battle
It’s time to cover our skillet art with batter. The batter is made from 3 beaten eggs (sorry, eggs), 1/2 tsp. of salt, 1 1/2 c. cake flour, sifted (because nobody likes lumpy cake), a dash of 1 tsp. vanilla (for that ‘je ne sais quoi’), 1 1/2 tsp. baking powder (our cake’s personal trainer), 3/4 c. scalded milk (don’t ask me why it needs to be scalded, I just follow the recipe), 2 Tbsp. butter (because you can never have too much butter), and 1 1/2 c. sugar (because life is sweet).
Mixing the batter is like wrestling a sugary beast. The flour dusts up, the eggs squelch, and the baking powder does whatever baking powder does (it’s a mystery to us all). But eventually, the batter finally surrenders and smooths out.
The Finale: Bake, Wait and Flip
With the batter poured over our pineapple-cherry masterpiece, it’s time to send our cake into the fiery furnace, oops! I mean, the oven. The waiting is the hardest part – not just because I’m eager to taste the cake, but also because the sweet aroma makes my kitchen smell like a bakery in heaven.
Finally, after the eternal wait (or 35-40 minutes), the cake is ready to come out. Now comes the moment of truth: the flip. With a deep breath, a prayer to the cake gods, and a swift motion, I flip the skillet. The cake lands perfectly on the plate, pineapple side up, looking like a sunbeam on a gloomy day.
And there you have it, my friends, the tale of the Skillet Pineapple Upside-Down Cake. It’s a story of butter, sugar, and tropical fruit, with a dash of humor and a whole lot of love. So, go forth, and let your own pineapple upside-down cake stories unfold! And remember, don’t get too attached to your art – you’ll have to eat it in the end!