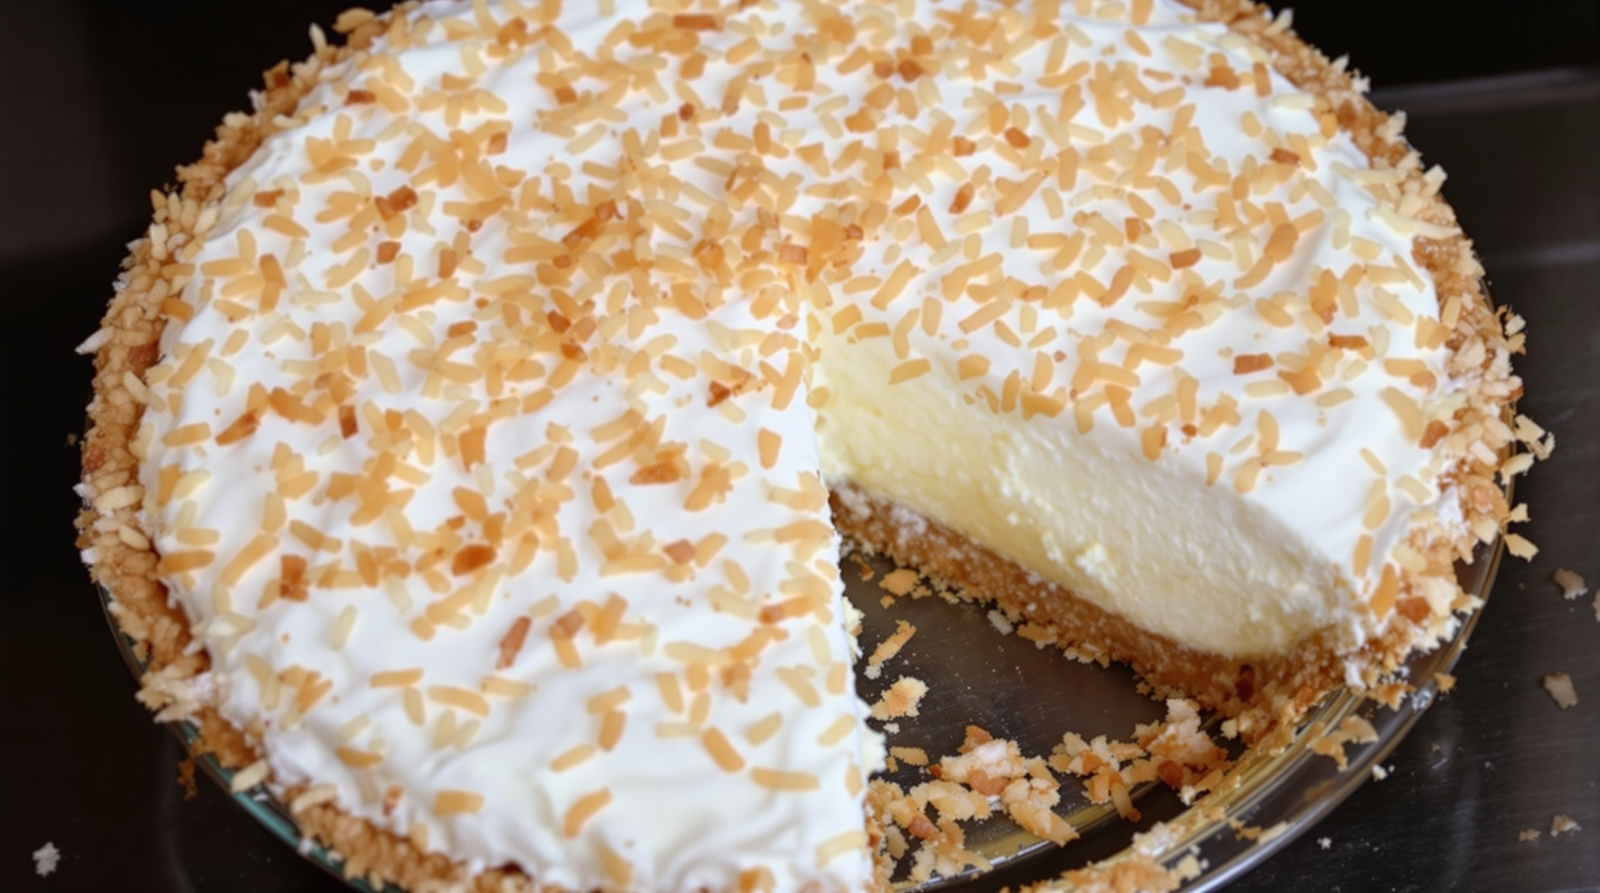
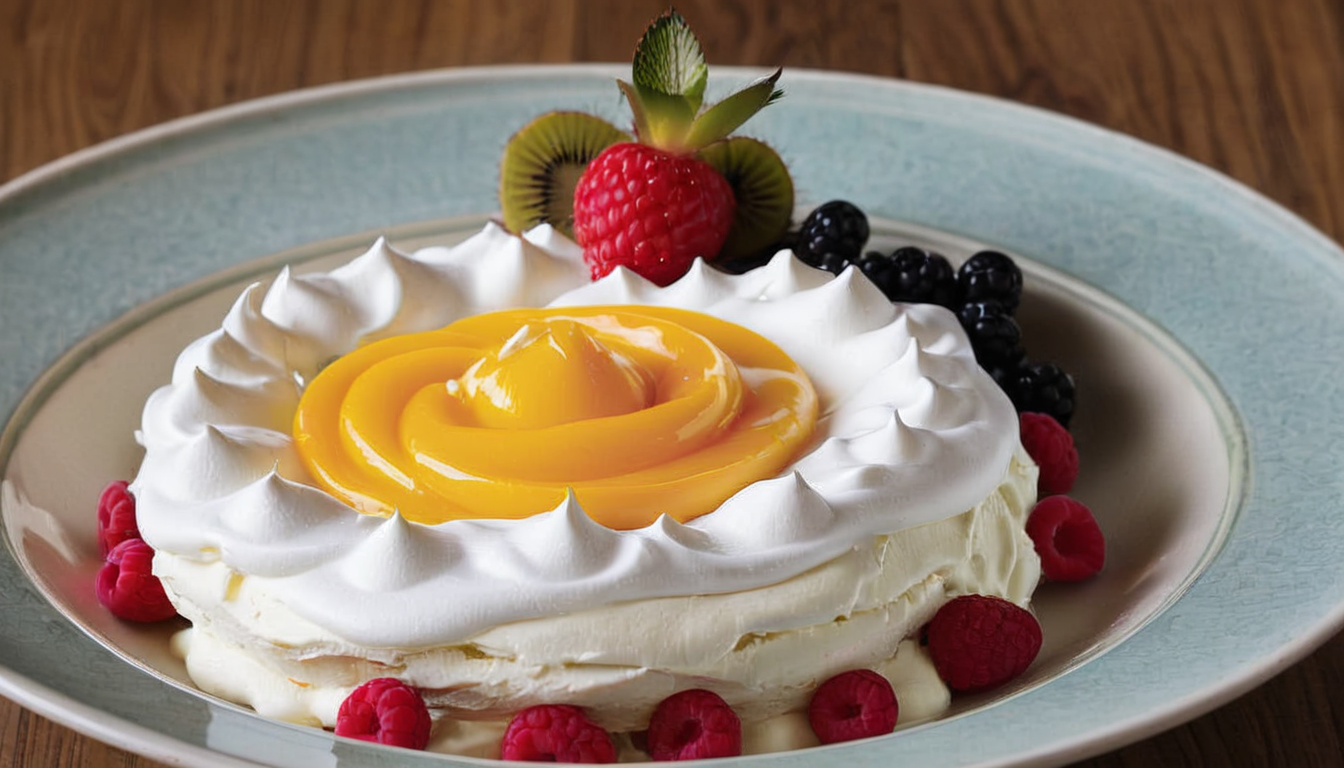
If you’ve ever visited Australia, chances are you’ve encountered Pavlova – a dessert so delightful that it has been hailed as the national dessert of the land Down Under. This meringue-based dessert is named after the Russian ballerina Anna Pavlova, who toured Australia and New Zealand in the 1920s. The dessert was created in her honor, and it’s just as light and elegant as the ballerina herself. The dessert is characterized by its crisp crust and soft, light inside – similar to a marshmallow – typically topped with whipped cream and fresh fruit. What I love about this dessert is its versatility. You can top it with any fruit you like, making it a year-round treat. Plus, it’s a great way to use up leftover egg whites. Preparing Pavlova may seem daunting at first, but with a few tips and tricks up your sleeve, you’ll be a pro in no time. It’s all about patience and precision – from beating the egg whites to the perfect consistency, to baking the meringue at just the right temperature.
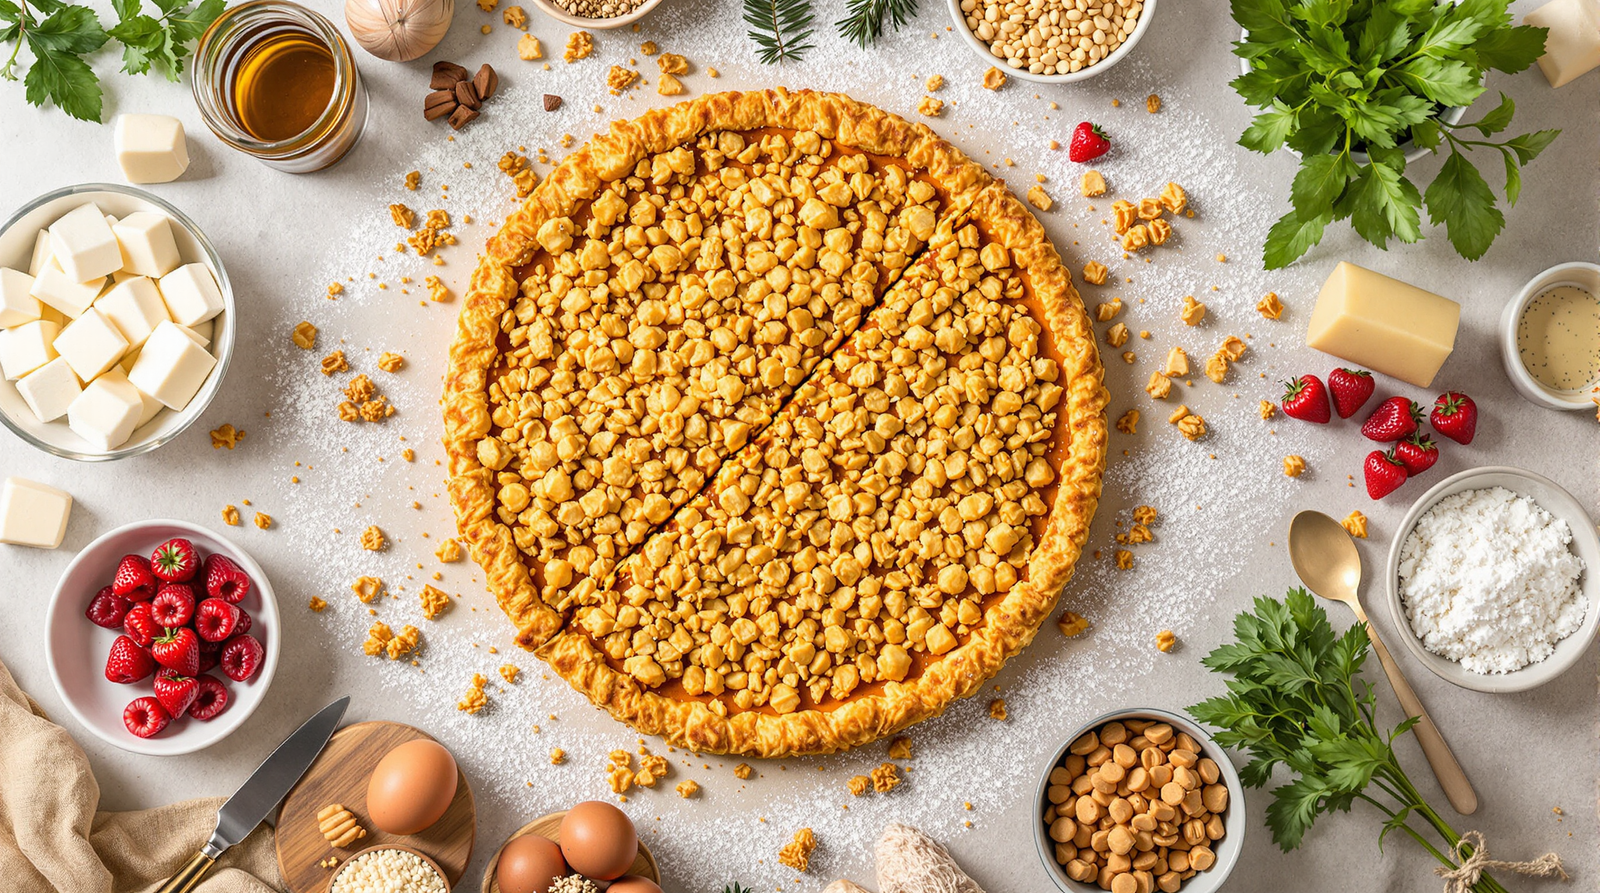
Ingredients
- 4 egg whites, at room temperature
- 1/4 tsp. salt
- 1/4 tsp. cream of tartar
- 1 c. sugar
- 2 c. sweetened whipping cream
- 3 c. fruit of your choice
Baking Instructions
- Line cookie sheet with wax paper; grease lightly.
- Draw 8-inch circle in middle of sheet.
- Beat egg whites until foamy.
- Add salt and cream of tartar; beat until stiff, glossy peaks form.
- Add sugar gradually; beat 2 minutes.
Calorie: 300
Total cooking time: 1 hour
Difficulty level: Medium
The Great Pavlova Experiment
Once upon a time, in a kitchen not so far away, I decided to whisk up a little bit of Australia with a Pavlova. This dessert, named after a ballerina, had me pirouetting around my kitchen, juggling ingredients like a circus performer.
Ingredients: A Delicate Balance
First things first, let’s talk ingredients. Now, a Pavlova might look like it’s all frills and fanciness, but it’s a pretty straightforward gal when it comes to ingredients. She demands **4 egg whites, at room temperature**, a **1/4 tsp. of salt**, and a **1/4 tsp. of cream of tartar** for her meringue base. Then, she sweetens up with **1 c. of sugar**. To top it all off, she likes to be dolled up with **2 c. of sweetened whipping cream**, and **3 c. of fruit of your choice**. She’s not fussy about the fruit, which is a relief because choosing fruit can be like picking between your favorite children.
The Dance Begins: Prepping the Stage
With my ingredients lined up, I started by prepping the stage. I lined a cookie sheet with wax paper and greased it lightly. Then, like a kid drawing a masterpiece on a foggy window, I drew an 8-inch circle in the middle of the sheet. This was the stage for my Pavlova performance.
The Meringue Mambo
Then, I moved on to the meringue. Beating egg whites can be a test of endurance, like running a marathon, but in the kitchen. I beat my **egg whites** until they were foamy, adding the **salt and cream of tartar** and continuing to beat until stiff, glossy peaks formed. I’m not going to lie, there was a moment of panic when I thought I’d overdone it and turned my lovely egg whites into an abstract expressionist painting. But, a quick shake of my head, a few deep breaths, and I was back in the game.
Adding the Sweetness: Sugar, Baby!
I gradually added the **sugar** and beat the mixture for 2 more minutes. The sugar behaved like a diva, refusing to blend in at first, but eventually, it settled down and joined the party.
The Finishing Touches: Whipping Cream and Fruit
Finally, it was time to add the final touches. I whipped up the **whipping cream** (which, by the way, is an excellent way to get out any residual frustration. Just saying.) I then slathered it onto my Pavlova base, creating a cloud-like bed for my fruit. I added the **fruit of my choice** (which, for the record, was a mix of strawberries, kiwi, and passion fruit – a riot of color and flavor that would make a rainbow jealous).
The Final Verdict
And there it was. My very own Pavlova. It looked like it could float away at any moment, a delicate dessert cloud. I’d like to tell you I shared it with my friends, but the truth is, I ate it all by myself. And it was glorious.
So, that’s the story of my Pavlova experiment. It had its ups and downs, twists and turns, but in the end, it was a delicious journey worth taking. And the best part? You can too. Just remember, the kitchen is your stage, the ingredients your dance partners. So, put on your apron, crank up the music, and dance your way to a delicious dessert.