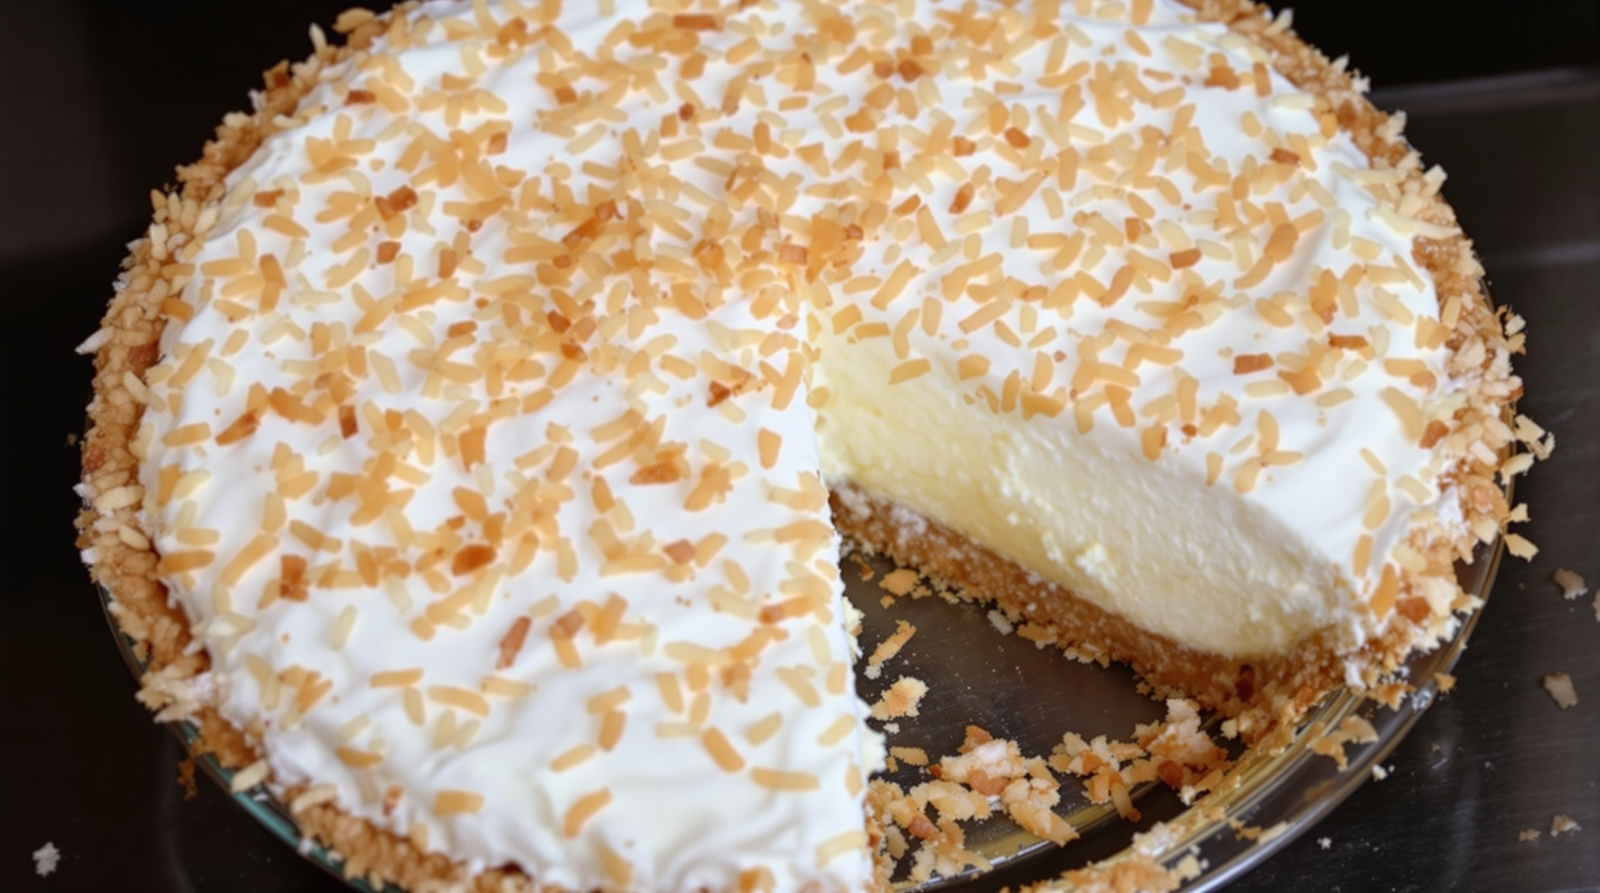
There’s something incredibly comforting and nostalgic about old-time recipes, especially when they’re as delicious as this classic buttermilk pie. Originating in the United Kingdom, buttermilk pie is a traditional recipe that’s been passed down through generations. Its creamy, custard-like filling, made with buttermilk, sugar, and eggs, is encased in a perfectly baked pie shell, offering a delightful contrast in textures. What I love most about this pie is its simplicity. Despite its humble ingredients, the result is a dessert that’s rich in flavor, with a sweetness that’s balanced by the slight tanginess of the buttermilk. Whether you’re a seasoned baker or a newbie in the kitchen, this recipe is easy to follow and doesn’t require any fancy techniques or equipment. Plus, it’s a great way to use up any leftover buttermilk you might have! So why not take a trip down memory lane and bake this old-time buttermilk pie? It’s the perfect dessert for any occasion, and I promise you, one bite will take you straight back to grandma’s kitchen!
Ingredients
- 9 inch unbaked pie shell
- 1/2 c. butter
- 2 c. sugar
- 3 tsp. flour, rounded
- 3 eggs
- 1 c. buttermilk
- 1 tsp. vanilla
- dash of nutmeg (optional)
Baking Instructions
- Soften butter and add sugar; cream together. Add flour and eggs; beat well. Stir in buttermilk, vanilla, and nutmeg. Pour into unbaked pie shell. Bake for 45 to 50 minutes at 350°. Place on wire rack to cool before serving.
Calorie: 350
Total cooking time: 1 hour
Difficulty level: Easy

The Great Buttermilk Pie Saga
Ah, the Old Time Buttermilk Pie. A classic, just like my grandma used to make. Not exactly the “one ring to rule them all” but believe me, it’s close! Now, don’t get me wrong. I’m not saying that this pie has mystical powers or anything like that. I’m merely suggesting that it possesses the ability to cure heartbreak, cajole reluctant smiles, and perhaps even bring about world peace. But hey, no pressure!
A Shell of a Time
The first step in our quest? The 9-inch unbaked pie shell. It’s the unsung hero of our tale, the foundation upon which our metaphorical pie house will stand. And if you’ve ever tried to build a house on a weak foundation, you’d know – it’s not a piece of cake, or pie in this case. I can’t stress enough the importance of the shell. Treat it with kindness, with respect. Whisper sweet nothings to it if you have to. After all, it’s going to be the vessel that carries our delicious filling to its ultimate destination – our stomachs!
Butter Up, Sugar
Next up, we have our dynamic duo – half a cup of butter and a whole lot of sugar. A whole 2 cups to be precise. Soften your butter, add your sugar, then cream them together like they’re two old friends reuniting after a long time apart. This isn’t a time for rushing, folks. Let them mingle, let them get to know one another. They’re about to become very, very close.
Flour Power and the Egg Troika
After our butter and sugar have reached peak friendship levels, it’s time to introduce 3 teaspoons of rounded flour and our trio of eggs into the mix. Now, I know what you’re thinking. “Three teaspoons of flour? That’s oddly specific.” And you’re right. But just trust me on this one, okay? Beat them well, like they owe you money. Not literally, of course. Unless your eggs actually do owe you money, in which case you have bigger problems to deal with.
Buttermilk, Vanilla, and the Nutmeg Wild Card
Now, it’s time for the star of the show – the buttermilk. Pour in a whole cup of this tangy beauty, followed by a teaspoon of vanilla. The vanilla is like the cool aunt who always shows up with unexpected gifts. It just makes everything better. Our final ingredient? A dash of nutmeg. This is optional, of course. But for those of you who like to live on the edge, toss it in! It’ll give your pie that extra kick, like a secret handshake or a password to an exclusive club.
The Final Countdown
We’ve come to the final stage of our journey. The pie is ready for its transformation. Pour your mixture into the unbaked pie shell. Slide it into the oven and bake for 45 to 50 minutes at 350°. It’s a bit like sending your kid off to college. You’ve done all you can, now it’s time to let it fly!
Cool It, Hotshot
Once your pie is golden and bubbly, place it on a wire rack to cool before serving. This is the hardest part, I won’t lie. The smell of the pie is going to be calling your name, singing a sweet, sweet siren song. But resist, my friends! Remember, good things come to those who wait!
And there you have it, folks. The Old Time Buttermilk Pie. It’s more than just a dessert, it’s a journey. A journey that’s well worth every sugar-filled, buttery step. Bon appétit!