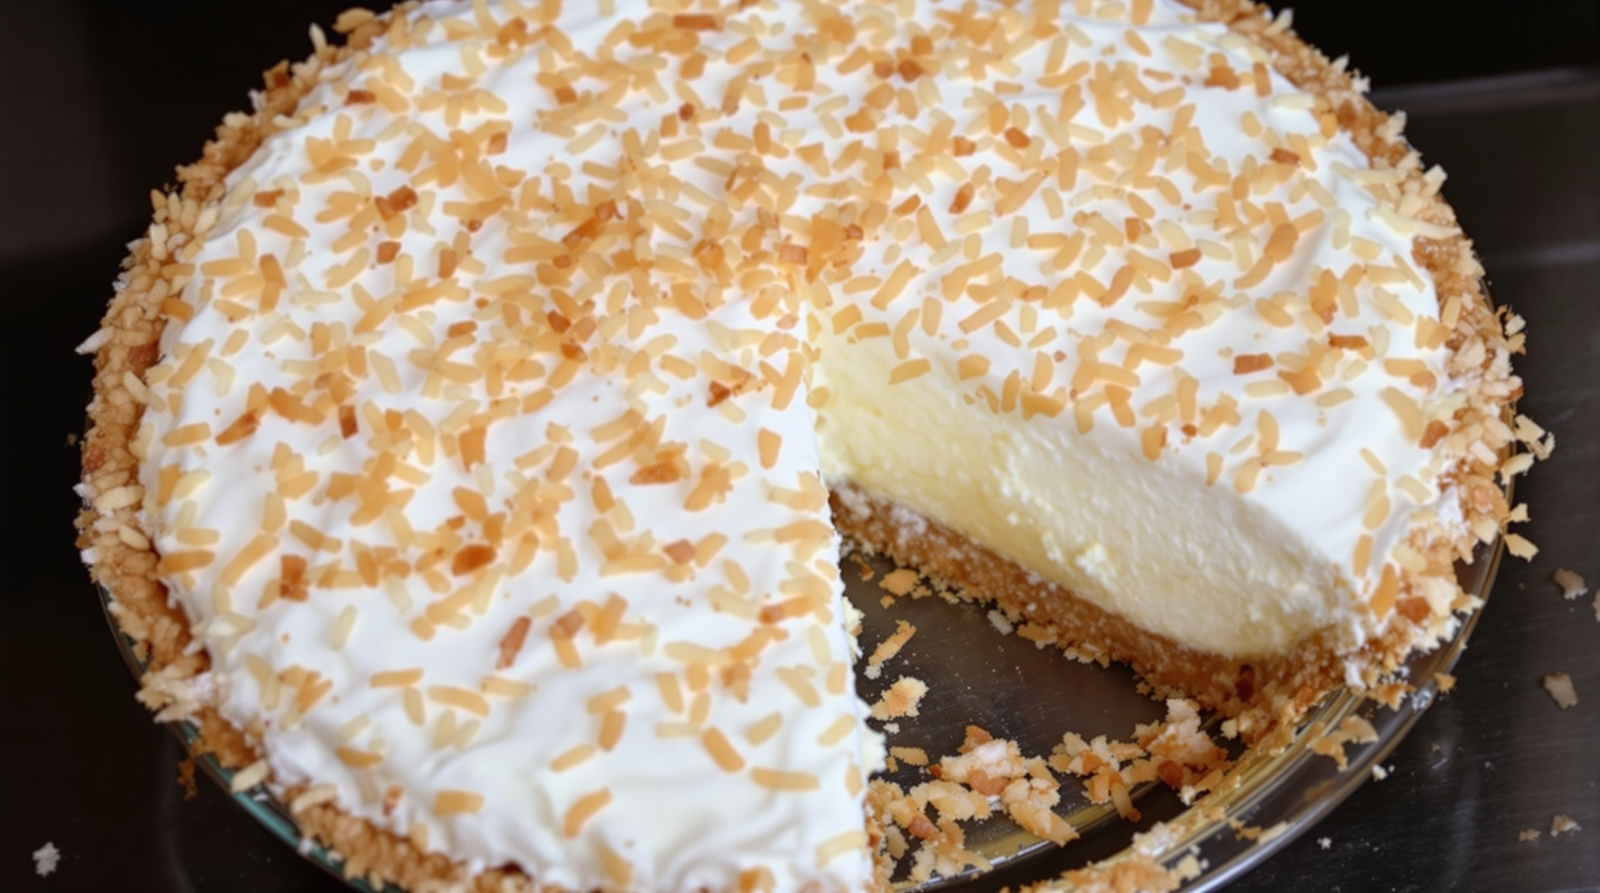
Who doesn’t love a good pie? I know I do! But, there’s nothing more disappointing than biting into a pie with a tough, unpalatable crust. That’s why I’m sharing my secret weapon in the kitchen with you – the Never Fail Pie Crust. This recipe has been passed down in my family for generations and it truly lives up to its name. It’s easy to handle, can be re-rolled without toughening, and bakes to perfection every time. No more pie crust disasters! This crust is perfect for both sweet and savory pies, making it a versatile addition to your baking repertoire. I love it because it’s foolproof and always gives me consistent results. Plus, it’s made with simple, easy-to-find ingredients. So, get ready to elevate your pies to the next level with this Never Fail Pie Crust recipe!
Ingredients
- 3 c. flour
- 1 1/4 c. shortening
- 1 tsp. salt
- 1 egg, well beaten
- 5 Tbsp. water
- 1 Tbsp. vinegar
Baking Instructions
- Cut shortening into flour and salt.
- Combine egg, water and vinegar.
- Pour liquid into flour mixture all at once.
- Blend with spoon, just until flour mixture is all moistened.
- This is an easy crust to handle and can be re-rolled without toughening.
- Bake at 450° for 10 minutes.
Calorie: 300
Total cooking time: 20 minutes
Difficulty level: Easy

The Great Pie Crust Misadventure
Let me tell you about the time I attempted to make a “Never Fail” Pie Crust. It was an experience akin to a circus act – humorous, entertaining, and filled with moments of sheer panic. But, alas, I digress.
A Dash of Confidence and a Heaping Spoonful of Flour
It all started with a recipe and 3 cups of flour. Simple, right? Wrong. The flour had a mind of its own, flying out of the bowl at the slightest provocation. It was like trying to wrestle a kitten into a bath. I’m not exaggerating when I say I found flour in the oddest of places for weeks.
Shortening, the Slippery Culprit
Next up: the 1 1/4 cups of shortening. The recipe instructed to “cut the shortening into the flour and salt.” Easy peasy. That is, until the shortening decided to put up a fight. It was like trying to carve a slippery, greased-up piglet. I ended up with more shortening on the knife, the counter, and myself than in the actual bowl.
The Liquid Brigade
Then came the liquid ingredients: one well-beaten egg, 5 tablespoons of water, and the secret weapon – 1 tablespoon of vinegar. “Combine egg, water, and vinegar,” the recipe instructed. It should’ve been the easiest step. But alas, the egg had other plans. It staged a mini-revolution, splattering on impact, and leaving yolk-y remnants all over my kitchen. It was like a Jackson Pollock painting, only eggy.
The Grand Finale
Once the liquid was combined, it was time to pour it all into the flour mixture. “Blend with a spoon, just until the flour mixture is all moistened,” the instructions read. Sounds simple enough, right? Wrong again. The dough clung to the spoon for dear life, creating a sticky, gooey mess that threatened to swallow my hand whole. It was like trying to stir quicksand with a toothpick.
The Oven Awaits
Finally, it was time to bake this monstrosity at 450° for 10 minutes. The only problem? I couldn’t get the dough off the counter. It was like it had grown roots, refusing to budge no matter how much I pleaded. In the end, I had to scrape it off with a spatula and a healthy dose of determination.
The Verdict
Despite the chaos, the crust turned out surprisingly well. It was flaky, sturdy, and not-at-all resembling the disaster that was its creation process. So, I guess you could say it was a “Never Fail” recipe after all. But next time, I think I’ll stick to store-bought.
The Moral of the Story
Cooking is messy. It’s chaotic. It’s unpredictable. But it’s also incredibly rewarding. So even if your kitchen ends up looking like a flour bomb exploded, just remember: it’s all part of the fun. And if all else fails, there’s always takeout.