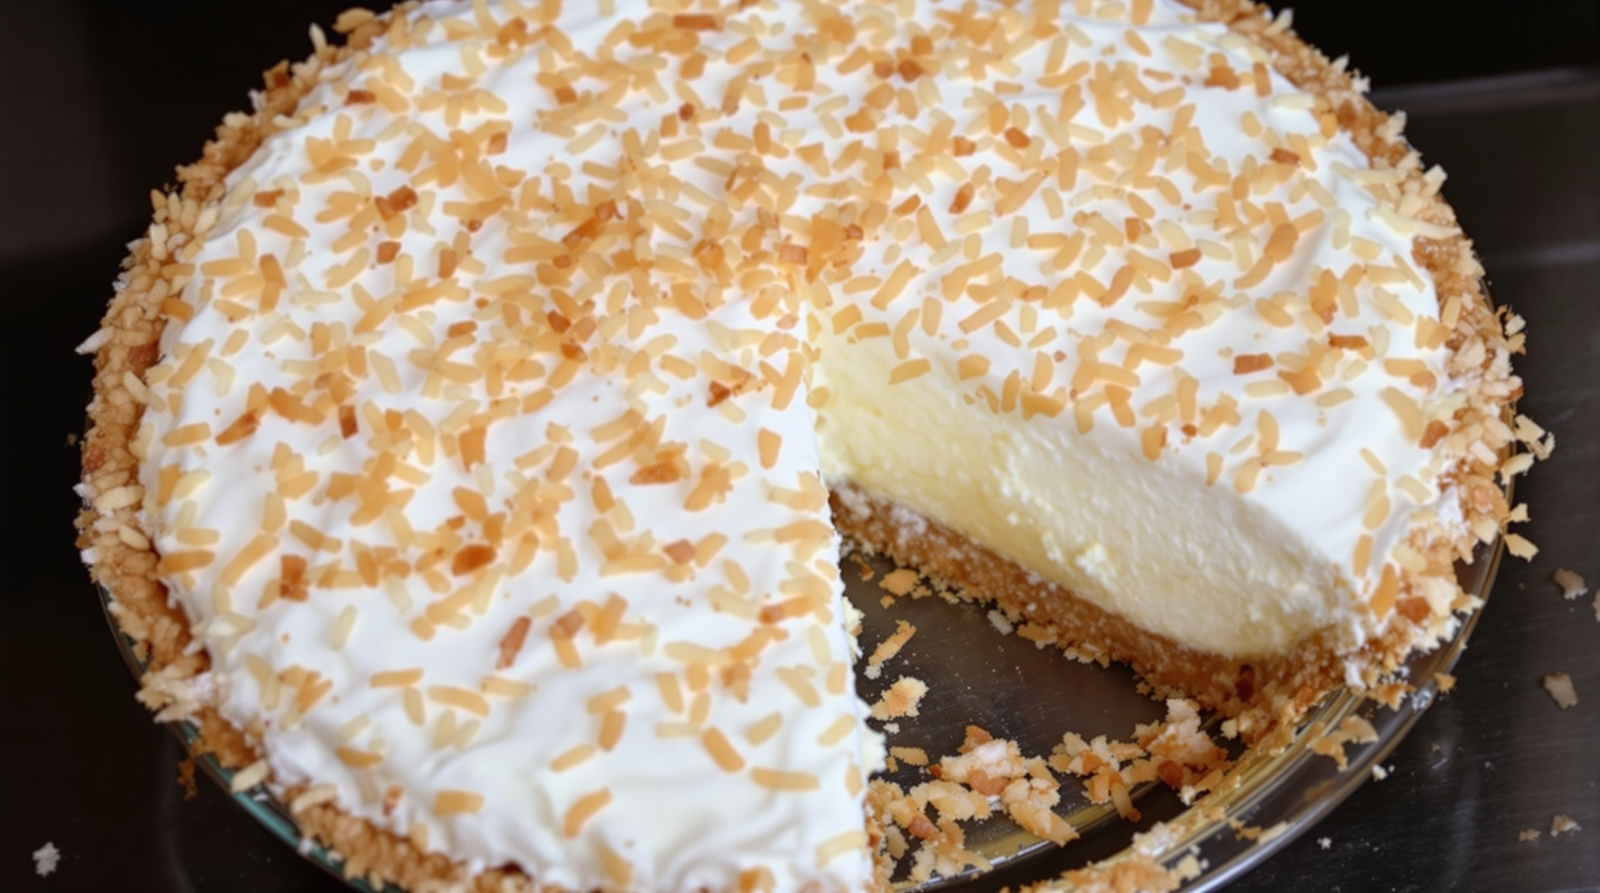
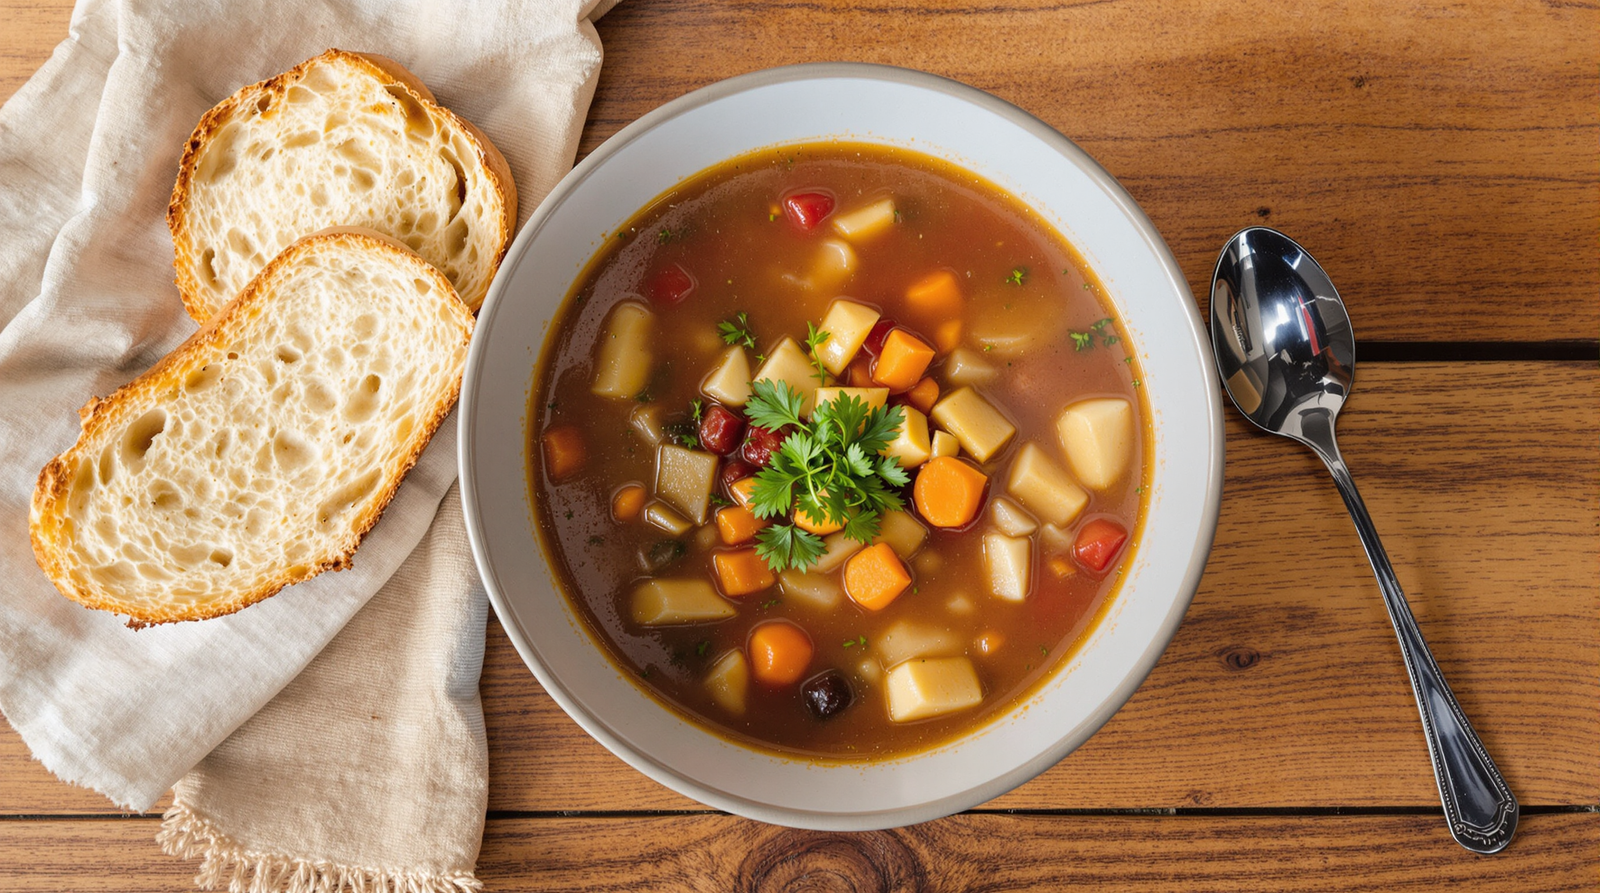
Hello dear readers! Today we’re diving into the delicious world of Monkey Bread. This sweet, pull-apart pastry has won over my heart and taste buds for its sheer simplicity and divine taste. Originating from Hungary, this dessert found its way to the United States in the late 1800s. It’s often associated with festive and holiday gatherings, but let’s be honest – it’s a treat that’s welcome any day! It’s also known as ‘Hungarian Coffee Cake’, ‘Pinch Me Cake’, and ‘Bubble Loaf’, among others. To make this recipe, all you need are refrigerator rolls, melted margarine or butter, sugar, and cinnamon. The process is a fun activity that you can involve your kids in too. All you need to do is separate the rolls, dip each into the margarine, roll it in the sugar-cinnamon mixture, and stack them unevenly in a casserole or ring pan. After a short bake, your Monkey Bread is ready to be devoured. It’s a recipe I absolutely love, not just for its deliciousness, but also for the joy it brings to my kitchen. So, are you ready to bake some Monkey Bread at home?
Ingredients
- 2 pkg. refrigerator rolls
- 1/2 c. melted margarine or butter
- 3/4 c. sugar
- 1 tsp. cinnamon
Baking Instructions
- Separate rolls.
- Dip each into margarine, then into sugar and cinnamon mixture.
- Stack unevenly in casserole or ring pan.
- Bake at 425° for 20 to 25 minutes.
- Turn out onto plate.
- Drizzle powdered sugar icing over top, if desired.
Calorie: 350
Total cooking time: 30 minutes
Difficulty level: Easy
The Chronicles of Monkey Bread Land
Ah, Monkey Bread. My kitchen’s equivalent of Mount Everest – challenging, but oh so rewarding. I’ve always thought the name was a bit peculiar. I mean, have you ever seen a monkey eating bread? Nevermind that, let’s get down to business.
The Gathering of the Ingredients
The cast of characters in this saga are quite simple: 2 pkg. refrigerator rolls, 1/2 c. melted margarine (or butter for the rebels), 3/4 c. sugar, and 1 tsp. cinnamon. That’s right folks, we’re going on a carb-filled joyride.
The Separation Anxiety
The first step involves separating the refrigerator rolls. This is easier said than done. Those rolls cling to each other like they’re on a sinking ship. But with a bit of gentle persuasion (and by that, I mean a good tug), they finally part ways. Some heartbreak is involved, but it’s a sacrifice that must be made.
The Dip into Deliciousness
Next, each roll embarks on a luxurious spa day – a dip in melted margarine followed by a sugar and cinnamon rub. Now, I don’t know about you, but if I could start my day with a sugar and cinnamon exfoliation, I’d be one happy camper. Unfortunately, my skin doesn’t appreciate that kind of pampering.
The Jenga Tower of Dough
Once those rolls are all jazzed up, they’re stacked unevenly in a casserole or ring pan. This is where the fun really begins. I like to pretend I’m playing a high-stakes game of Jenga. The tower of dough teeters and totters, but somehow, it manages to stay upright.
The Torture by Oven
Now, it’s time for the rolls to bake at a fiery 425° for 20 to 25 minutes. This part is excruciating – not for the rolls, but for me. The heavenly aroma of baking dough, mingled with sugar and cinnamon, wafts through the house and stirs up a hunger I didn’t even know existed. It’s like my stomach is throwing a tantrum, demanding, “Feed me now!”
The Grand Reveal
After what feels like ages, the timer dings and out comes the golden brown beauty. The next step is to turn out the bread onto a plate. This maneuver is a bit like flipping a pancake, only the pancake is scorching hot and the size of a small planet. But fear not, for the end result is worth a minor burn or two.
The Sugar Shower
Finally, if your sweet tooth is still begging for more, drizzle some powdered sugar icing over the top. Now, I’m not one to judge, but if you skip this step, we can’t be friends.
So, my dear reader, that was my latest foray into Monkey Bread Land. A journey filled with laughter, a few tears, and a lot of deliciousness. You know, I’ve always believed that cooking should be fun, and this recipe certainly fits the bill. Whether you’re a seasoned chef or a kitchen novice, give it a whirl. Just remember – the messier, the better!