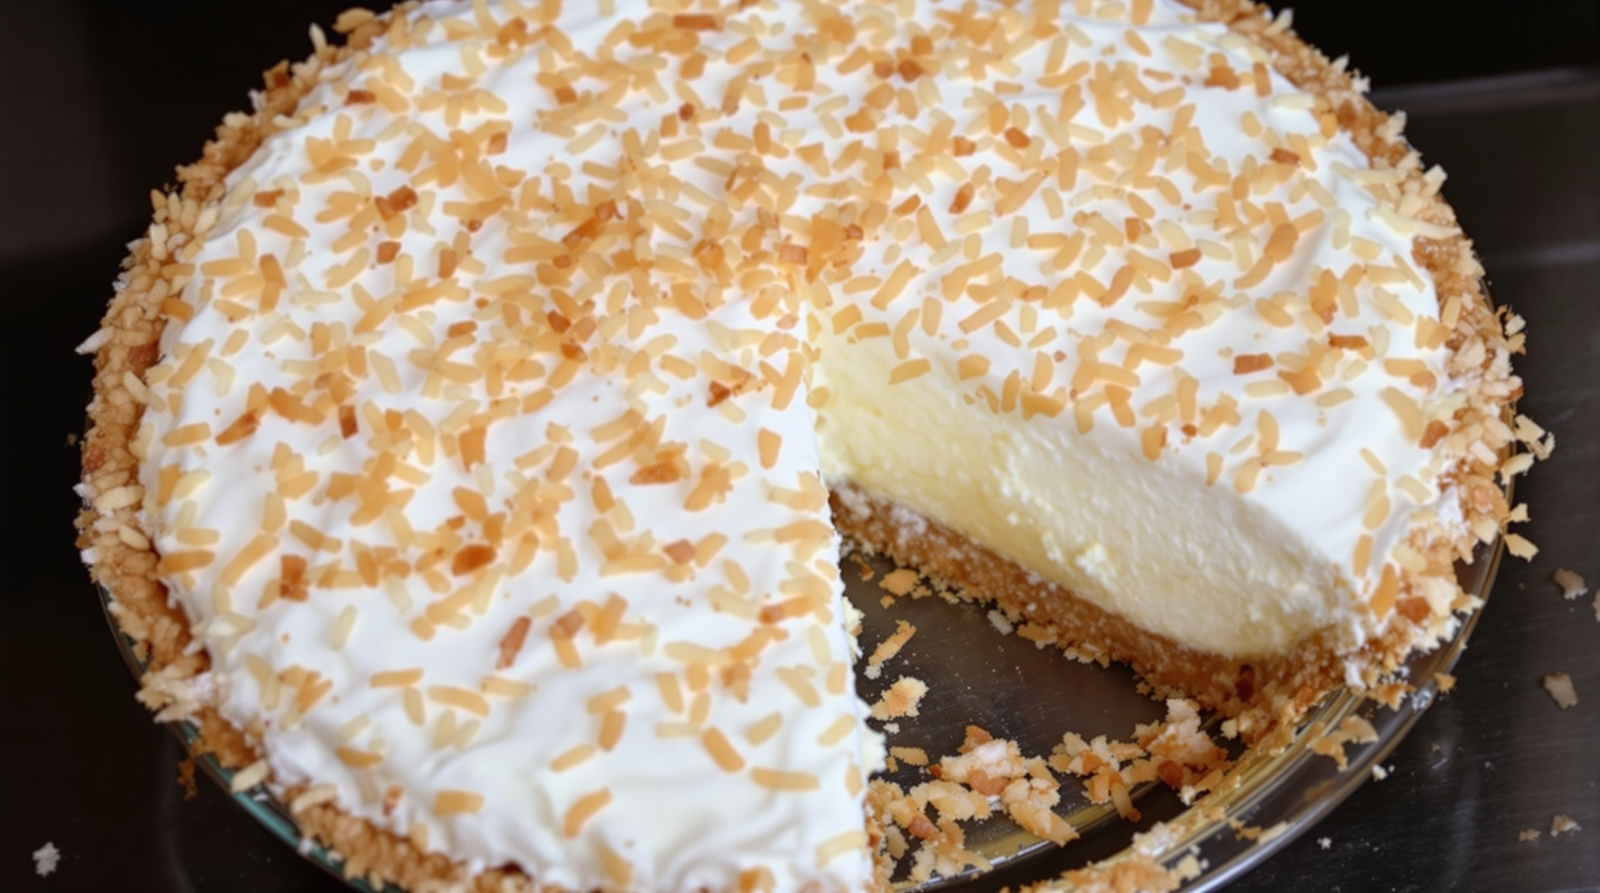
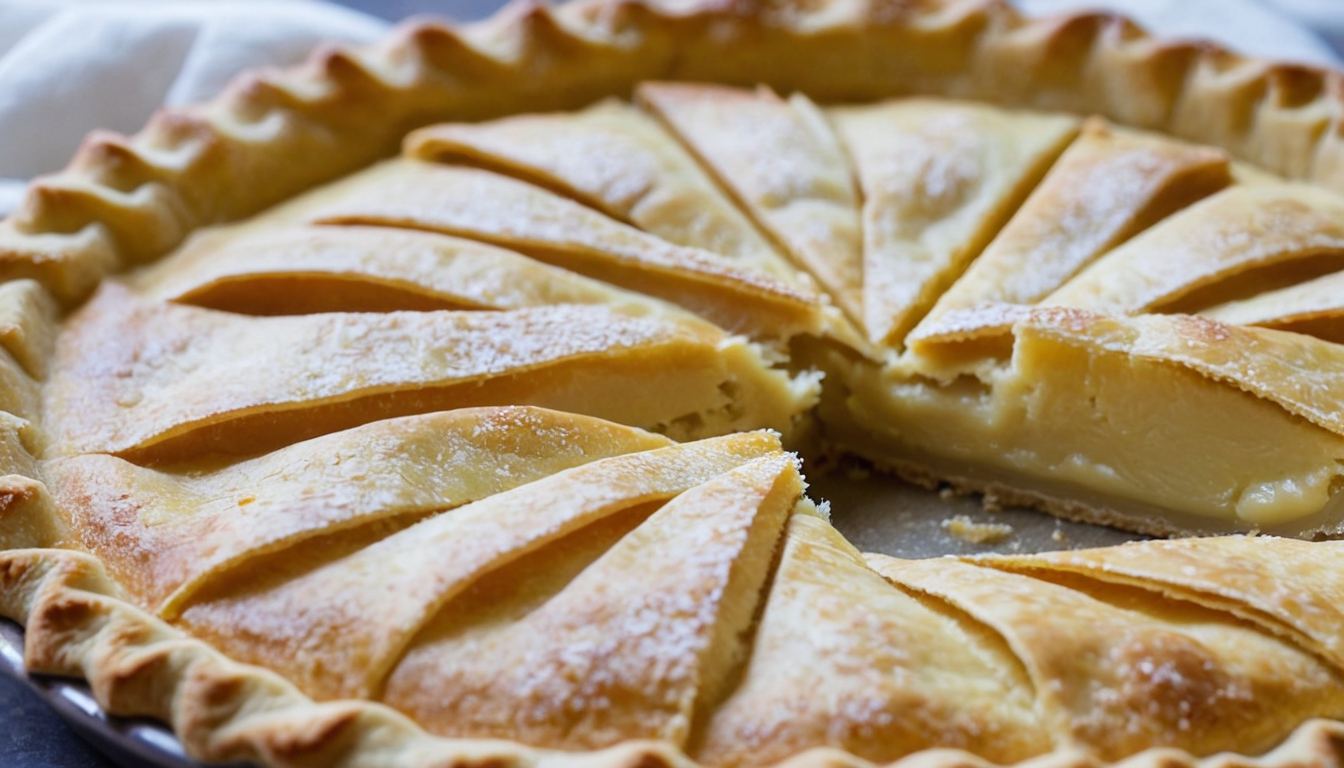
I’ve always been a firm believer that the secret to a fantastic pie lies in its crust. When done right, a pie crust can be a deliciously flaky and buttery treat that perfectly complements the sweet or savory filling it encases. Today, I’m super excited to share with you my go-to recipe for a perfect, flaky pie crust. This recipe has been passed down in my family for generations and has been the star of many holiday gatherings and cozy family dinners. The ingredients are simple: warm milk, solid shortening, and self-rising flour. But don’t let the simplicity fool you. The magic lies in the technique and the love you put into it. I have fond memories of my grandmother teaching me how to ‘feel’ the dough and know when it’s just right. It’s a beautiful process, and I can’t wait for you to try it out. Whether you’re a seasoned baker or new to the kitchen, this flaky pie crust recipe is a must-try. It’s not only scrumptious but also an excellent way to impress your loved ones during the holidays. Let’s get started!
Ingredients
- 1 cup warm milk
- 1 cup solid shortening
- 2 cups self rising flour
Baking Instructions
- Mix all ingredients into a
- bowl.
- Pour onto floured surface. Cover with flour and shape into a ball.
Calorie: 200
Total cooking time: 45 minutes
Difficulty level: Medium
The Great Pie Crust Conundrum
It was a day like any other when I decided to tackle the age-old enigma that is the Flaky Pie Crust. You know, the kind that leaves a mess of crumbs on your plate but no regrets in your heart. The kind that, when you take a bite, makes you go “Mmm” before you even realize you’ve made a sound.
The Ensemble of Ingredients
So, there I was in my kitchen, staring at my chosen warriors for the battle ahead. The first one was the warm milk, a cup of it, gently steaming and giving off the most comforting aroma. The kind of smell that takes you back to your grandmother’s kitchen on a crisp winter morning.
Next, the solid shortening, also a cup, standing tall and firm, like a well-disciplined soldier waiting for its command. You know it’s serious business when the shortening comes out.
Last but not least, the self-rising flour, two cups of it, waiting patiently for its turn, like a well-behaved child. There’s something about flour that’s just so… humble. It’s like the understated hero of the culinary world.
The Mixing Rodeo
Now came the moment of truth, the point of no return – the mixing. I threw caution to the wind and dumped all three ingredients into a bowl. Yes, you heard it right. All of them, at once. It was like watching a culinary mosh pit.
As I stirred the mixture, it began to resemble a small, doughy galaxy, with tiny flour stars swirling around in a milky, shortening sky. It was a sight to behold, but let’s just say it wasn’t going on my Instagram.
The Great Floury Migration
The next step in this epic journey involved pouring the mixture onto a floured surface. You’d think that would be easy, right? Wrong. This is where things got real. This is where the dough decided to stick to EVERYTHING. And I mean everything. My hands. The countertop. The cat.
After a bit of coaxing (and a lot of laughing), the dough finally made its way onto the flour-covered surface, ready for the next phase.
The Doughy Transformation
Then came the part where I had to cover the dough with more flour and shape it into a ball. Sounds simple, right? But this was no ordinary ball. This was to be the ball that would become the perfect, flaky pie crust. The pressure was on.
With flour up to my elbows and the determination of a baking champion, I managed to shape that rebellious dough into a somewhat roundish blob. It wasn’t the prettiest dough ball in the world, but it was mine.
The End of the Line
And there you have it, my friends. The story of how I wrestled with warm milk, solid shortening, and self-rising flour to make the most beautiful, flaky pie crust. It was a journey of laughter, frustration, and a lot of cleaning up. But in the end, it was all worth it. Because let’s face it, is there anything more satisfying than a homemade pie crust done right?
So, go ahead. Embrace the mess, laugh at the chaos, and dive into the world of baking. Trust me, it’s a lot of fun. Just don’t forget to lock the cat out of the kitchen.