This easy and delicious cheese ball recipe is the perfect appetizer for any gathering. With a mix of cream cheese, black olives, dried beef, green onions, and mushrooms – it’s a crowd-pleaser that can be prepared in advance. Serve it with Ritz crackers for the perfect bite.
Ingredients
- 2 (8 oz.) cream cheese
- 2/3 can chopped black olives
- 1 jar Armour dried beef
- 4 green onions (tops and all)
- 1/2 jar mushrooms
Mixing Instructions
- Chop all and mix with hands.
- Form into ball and refrigerate for 1 to 2 days.
- Sprinkle with paprika and serve with Ritz crackers.
Calorie: 0
Total cooking time:2 hours
Difficulty level: Easy
Cheesy Inception: The Birth of the Cheese Ball
Ah, the cheese ball. A classic party dish, and a friend to all cracker varieties. It’s a culinary comet, a veritable sphere of flavor. But have you ever wondered how one creates such a marvel? Well, buckle up, buttercup, because I’m about to expose the secrets of the cheese ball.
The Gathering of the Ingredients
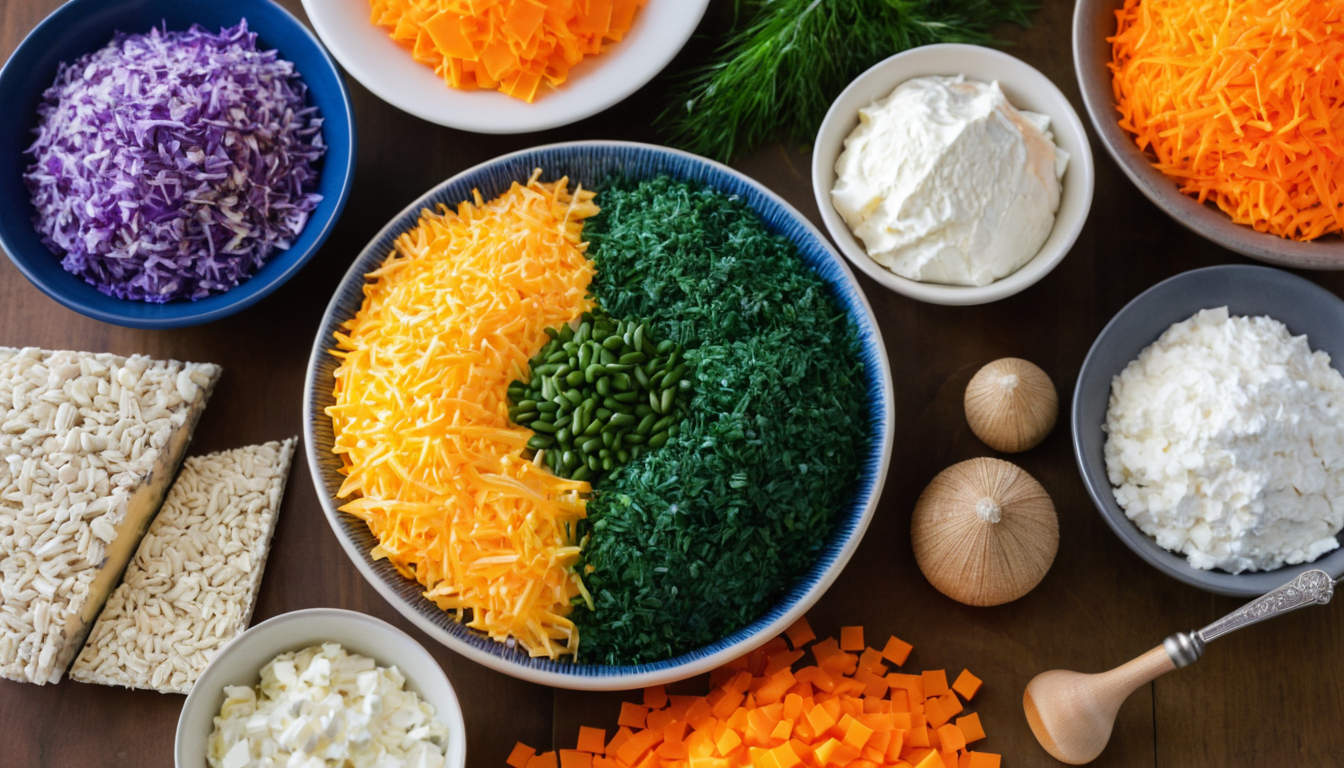
Like any great dish, our tale begins at the grocery store. With a list in hand, I navigate the maze of aisles like a culinary Indiana Jones in search of treasures. First stop? The dairy aisle for some **cream cheese**. The key to a great cheese ball is, unsurprisingly, cheese. I’m talking about two 8 oz packs of cream cheese. Trust me, it’s a creamy and delicious base that’s going to hold everything together.
Next, I need some **black olives**. Now, you might be thinking, “Black olives in a cheese ball? You’ve lost your marbles!” But trust me, they add a salty, tangy punch that cuts through the cream cheese like a hot knife through… well, cheese. Two-thirds of a can should do the trick.
After that, it’s off to the canned meat section. Yes, you read that right. This is where the magic happens. We’re talking **Armour dried beef**. This isn’t your average lunch meat. It’s a savory delight that adds a whole new dimension to your cheese ball.
Finally, we hit the produce section for some **green onions** and the canned food aisle for **mushrooms**.
The Assembly
Back at home, the real fun starts. It’s time to get chopping. The beef, the olives, the green onions, tops and all, and the mushrooms; everything gets the chop.
Never underestimate the power of a good chop. It’s a therapeutic activity, really. There’s something oddly satisfying about turning ingredients into tiny, minuscule pieces.
Next, it’s time to mix. And by mix, I mean get your hands dirty. There’s something oddly barbaric about mashing everything with your bare hands. It’s like a culinary mud fight.
The Great Refrigeration and The Final Touch
After your cheese ball starts resembling… well, a ball, it’s time to refrigerate. This is where patience comes in. You need to wait for 1 to 2 days. It’s like waiting for Christmas, but instead of presents, you get a cheese ball.
Once your cheese ball is cold and firm, it’s time for the final touch. It’s time to make your cheese ball look like a sunburnt tourist by sprinkling it with paprika.
The Feast
Finally, it’s time to dig in. Pair your cheese ball with some Ritz crackers, and you’ve got a party on a plate. It’s a symphony of flavors: the creamy cheese, the salty olives, the savory beef, the sharp onions, and the earthy mushrooms.
So, there you have it. The birth of a cheese ball. It’s a journey filled with laughter, anticipation, and a little bit of mess. But, in the end, it’s all worth it because you’re left with a delicious dish that’s sure to impress at any gathering. Just remember to save some for your guests!

