Looking for a dish that perfectly kick-starts your dinner party? Look no further than this delicious Cheese Ball recipe! It’s creamy, cheesy, and seasoned with a mix of spices to give it that extra kick. Best of all, it’s easy to make and can be prepared in advance!
Ingredients
- 2 (8 oz.) cream cheese
- 4 c. shredded sharp cheese
- 1/3 c. mayonnaise
- 1 tsp. Worcestershire sauce
- 1/8 tsp. garlic salt
- 1/8 tsp. celery salt
- 1/8 tsp. onion salt
- 1/2 c. chopped pimento
- 1/4 c. chopped olives
- 1/4 c. parsley flakes
- 1/2 jar dried chipped beef
Preparation Steps
- Mix all ingredients except chipped beef and parsley.
- Chill for 1 hour.
- Shape in ball.
- Roll in chipped beef and parsley until well coated.
- Keep in refrigerator.
- Serve with cracker (any kind).
Calorie: 200
Total cooking time:1 hour 30 minutes
Difficulty level: Easy
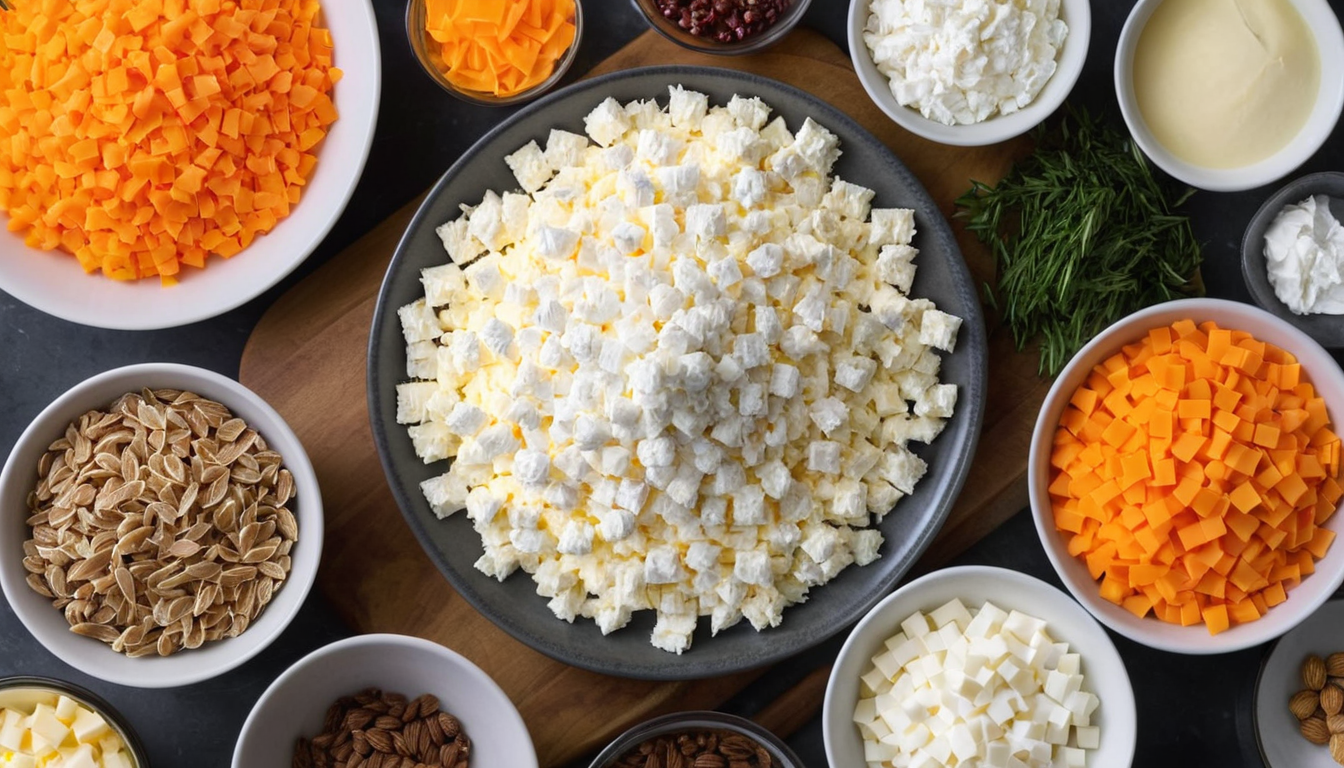
The Cheesy Chronicles: An Epic Tale of a Cheese Ball
Stage 1: The Gathering of the Ingredients
There I was, standing in my kitchen, staring down the culinary challenge of the decade – creating the perfect cheese ball. My battlefield was strewn with cream cheese, sharp cheese, mayonnaise, Worcestershire sauce, garlic salt, celery salt, onion salt, pimento, olives, parsley flakes and, last but not least, that mysterious half jar of dried chipped beef that had been lurking in my pantry since the dawn of time.
Stage 2: The Great Mix-Up
With the spirit of a seasoned chef, I rolled up my sleeves, took a deep breath, and dived headfirst into the mix. I threw everything into the bowl, except for the chipped beef and parsley (those guys needed to make a grand entrance later). I then began to mix, and let me tell you, this was no ordinary mix. This was a mix that would make a DJ envious, a mix that could make the toughest of doughs tremble in fear.
Stage 3: The Chill Zone
After a good mix, it was time for the creation to chill. And by chill, I mean an hour in the icy domain known as my refrigerator. I imagined my cheese ball, kicking back on the top shelf, sipping a cocktail, rubbing shoulders with the pickles, and shooting the breeze with the leftover roast.
Stage 4: The Shape Shifter
After an hour, it was time to shape the cheese mixture into a ball. I opened the fridge to find my cheese mixture totally refreshed and ready for action. I got my hands dirty, and began to mould. It was like being a kid again, playing with food, only this time, I didn’t have my mum scolding me.
Stage 5: The Rolling Stones
Now, it was time for the chipped beef and parsley to finally make their grand entrance. I rolled my cheese ball in the beef and parsley until it was well coated. It was like watching a cheese ball get a makeover, and let me tell you, it was looking fabulous.
Stage 6: The Waiting Game
Back into the fridge it went, this time for a longer chill. In the fridge, amongst the leftover pizza and half-eaten apple, the cheese ball began its final transformation. I could almost hear it whispering, “I’ll be back,” as I closed the fridge door.
Stage 7: The Grand Finale
Finally, it was time to serve this masterpiece. Placed on a platter with crackers, the cheese ball seemed to glow with an inner light of edible delight. The first bite was an explosion of flavor. The sharp cheese, the tangy Worcestershire sauce, the pimento, olives and the beef all danced a tango on my taste buds.
The Conclusion of the Cheesy Chronicles
And that, my friends, was the epic tale of the cheese ball. A journey of flavor, laughs, and a very messy kitchen. But hey, what’s cooking without a bit of chaos, right? Remember, in the world of cheese balls, there’s always room for creativity, mess, and a whole lot of cheese.
