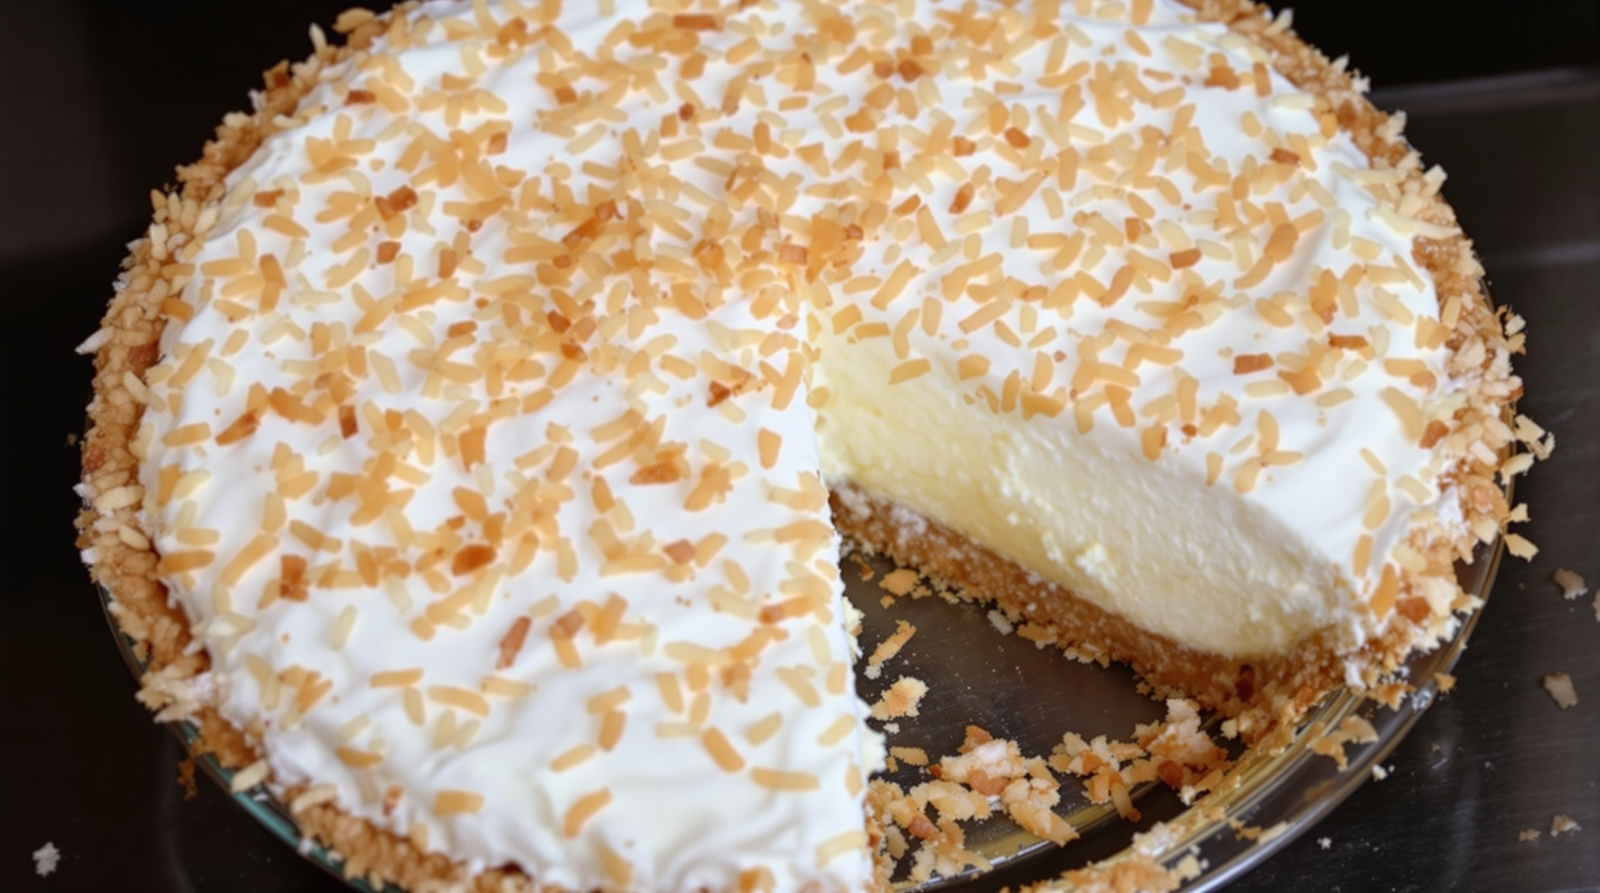
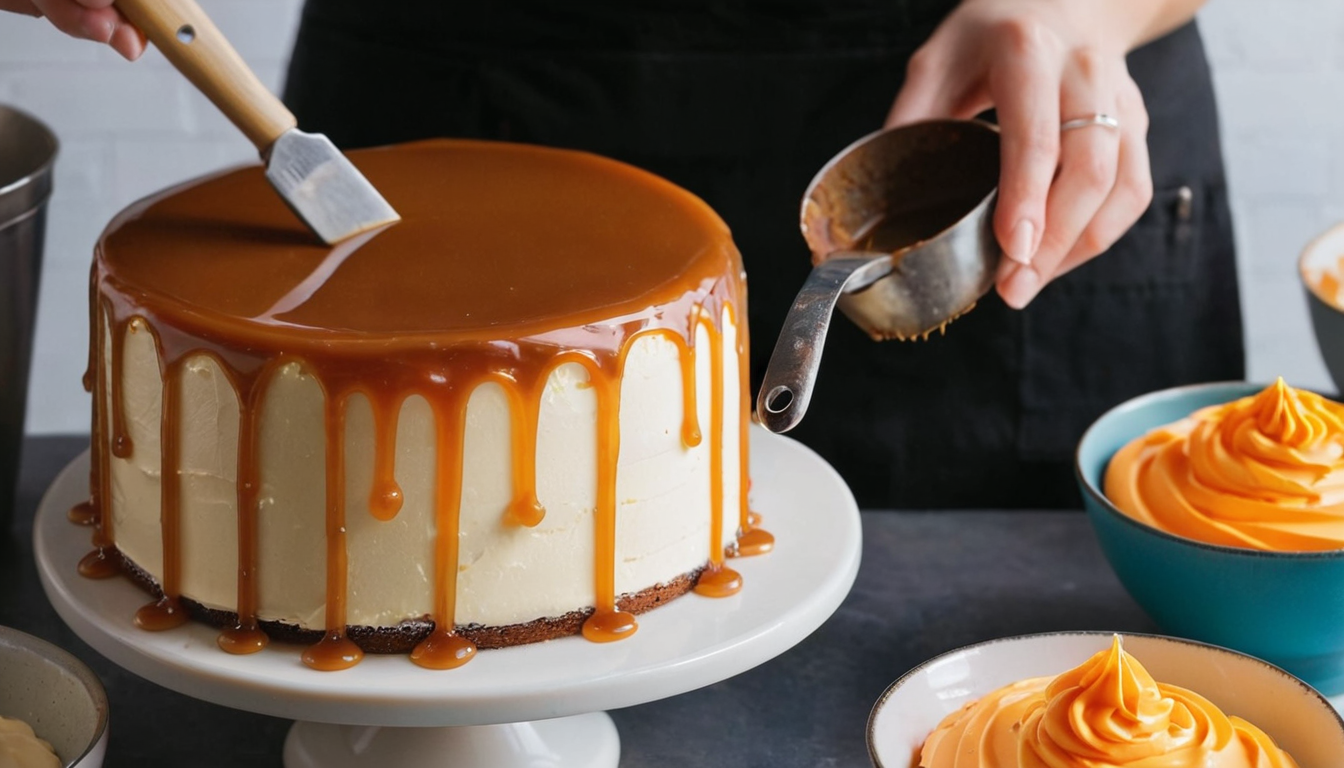
There’s something incredibly satisfying about making your own cake icing. And when that icing is a rich, glossy, burnt caramel? It’s pure decadence. Burnt caramel icing has a depth of flavor that’s just not found in off-the-shelf icings. It has a history of elevating ordinary desserts into extraordinary treats, and it’s no wonder – the complex, slightly bitter sweetness of burnt caramel is truly irresistible. This recipe, which has been passed down in my family for generations, is surprisingly straightforward. The key is in the ‘burnt’ part of the caramel – browning the sugar carefully to just the right point, to bring out that unique, toasty caramel flavor. Believe me, once you’ve tried this homemade burnt caramel icing, you’ll never want to go back to store-bought versions. So, why do I love this recipe? It’s not just about the taste (though that’s a big part!). It’s also about the process – the anticipation as the sugar turns from white to a rich amber, the smell of caramel filling the kitchen, and finally, the satisfaction of spreading this glossy icing over a freshly-baked cake. There’s a joy in making something from scratch, and this burnt caramel icing is no exception.
Ingredients
- 2 c. sugar
- 3/4 c. milk
- 1 Tbsp. white Karo syrup
- 1/2 c. sugar
Icing Preparation
- Put 2 cups sugar and milk in a saucepan.
- Add syrup.
- Put the 1/2 cup sugar in a small skillet and pour enough water over it to moisten good.
- Turn on low heat under saucepan.
- While it is heating, brown the sugar in the skillet.
- When brown, pour it into the saucepan.
- Cook until soft ball forms in cold water.
- Remove from stove and beat until ready to spread on the cake.
- Add butter, the size of a walnut, and flavoring.
Calorie: 350
Total cooking time: 45 minutes
Difficulty level: Intermediate
The Saga of the Burnt Caramel Cake Icing
Welcome, dear reader, to my humble kitchen. Today, we are embarking on a journey filled with sugar, milk, and the ever-mysterious white Karo syrup. Our quest? The elusive Burnt Caramel Cake Icing. Now, don’t let the ‘burnt’ part scare you off, it’s not a reflection of my cooking skills—well, not entirely.
A Sticky Situation
Our story begins with a saucepan, 2 c. sugar, and 3/4 c. milk. Simple enough, right? Well, let’s add a twist with 1 Tbsp. of white Karo syrup. Suddenly, this isn’t your grandmother’s Sunday baking session. Now we’re playing with the big leagues.
And I know what you’re thinking, “But, we already put sugar in the saucepan!” Oh, dear reader, we’re not done with the sugar. Not yet.
The Great Sugar Browning
Now, for the pièce de résistance, we take a skillet and pop in 1/2 c. sugar. Yes, more sugar. At this point, you might start questioning your relationship with this sweet, crystalline substance. But trust me, it’s all part of the plan.
Pour just enough water over the sugar to make it look like a scene from the world’s stickiest beach. Then, turn on low heat under the saucepan. We’re now officially multitasking.
While the saucepan is heating up, we have to brown the sugar in the skillet. This is where the ‘burnt’ part comes in. It’s a delicate dance between caramelization and carbonization, and I’m the one leading.
The Sweet Union
When the sugar in the skillet has reached the perfect shade of ‘burnt caramel’, it’s time to introduce it to its sugary brethren in the saucepan. A reunion of sorts. A sweet, syrupy, slightly stressful reunion.
The Final Countdown
The next step is to cook until a soft ball forms in cold water. This is the part where I pretend to understand candy thermometers and the science of sugar. But really, I’m just winging it.
Once we’ve achieved the elusive ‘soft ball’ stage, remove from the stove and beat it like it owes you money. Or until it’s ready to spread on the cake. Whichever comes first.
The Butter-y End
Last but not least, add butter, the size of a walnut. Because why not? We’ve already committed to this sugar frenzy, a little butter won’t hurt. And don’t forget the flavoring. Vanilla? Rum? The blood of your enemies? The choice is yours.
And voila! You’ve made it through my tale of Burnt Caramel Cake Icing. Now, go forth and spread that icing on your cake. Or eat it with a spoon. I won’t judge.
The Aftermath
In the end, we’ve made something beautiful. Or at least, something edible. And we’ve learned a lot about sugar, milk, and ourselves along the way. So here’s to the next baking escapade. May it be just as sweet and slightly less sticky.