A delicious Cherry Pie is always a crowd-pleaser. With our easy-to-follow recipe, you’ll have a tasty treat ready in no time!
Ingredients
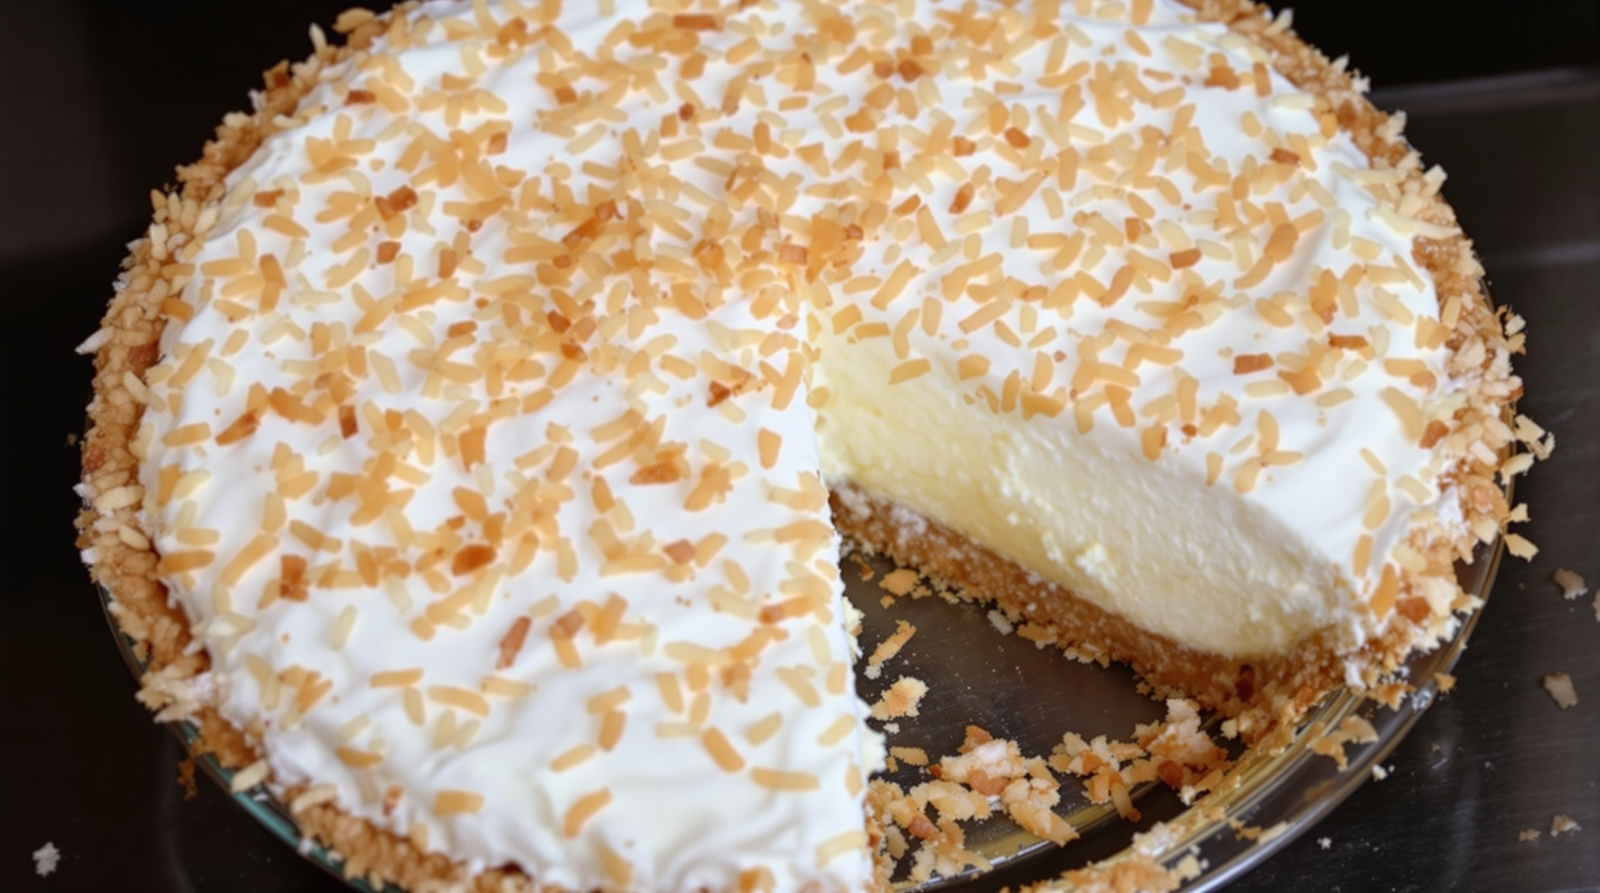
- 9-inch graham cracker crust
- 1 can condensed milk
- 1/3 c. lemon juice
- 1 can cherry pie filling
- 1 (8 oz.) pkg. cream cheese
- 1 tsp. vanilla
Pie Assembly
- Cream cheese should be close to room temperature.
- Blend milk, lemon juice and vanilla with cream cheese and pour into pie crust. Chill about 2 hours.
- Then pour cherry pie filling on top.
- Chill one more hour.
- Keep refrigerated.
Calorie: 350
Total cooking time:3 hours
Difficulty level: Easy

A Cheesy Cherry Endeavor
Well, ladies and gents, buckle up! Today, we’re embarking on a culinary excursion into the realm of pies, specifically the cherry kind. I promise it’s going to be a hoot and a half, and no, we’re not going on an “adventure.” Too cliché, right? So, let’s call it a cheesy cherry endeavor instead!
The Mischievous Ingredients
Before we dive in, let’s gather our motley crew of ingredients. We’ve got a 9-inch graham cracker crust that’s already giving me the side-eye, a can of condensed milk that’s way too sweet for its own good, and 1/3 cup of lemon juice that’s just waiting to add a zesty zing to our pie.
Over there, trying to keep a low profile, is a can of cherry pie filling, but we all know it’s the star of the show. Sneakily sitting in the corner is an 8 oz. package of cream cheese, close to room temperature, and practically begging to be blended. Lastly, a teaspoon of vanilla is hiding somewhere, trying to pass as plain ol’ sugar. Nice try, buddy!
A Creamy, Dreamy Beginning
The first step in our pie-making journey involves our sneaky friend, the cream cheese. To kick things off, we blend the cream cheese with the overly sweet condensed milk, the zesty lemon juice, and the incognito vanilla. This is where the magic starts to happen and, let me tell you, it’s like watching a romcom of ingredients. They come together in a creamy, dreamy mixture that you pour into that sassy graham cracker crust.
The Chilling Interlude
Once you’ve poured the creamy mixture into the crust, it’s time to chill. Literally. Pop that pie into the fridge for about 2 hours or until it’s as cool as a cucumber in a snowstorm.
During these two hours, I usually find myself in a stare-off with the fridge, silently willing the pie to chill faster. Spoiler alert: I’ve yet to win one of these stare-offs.
The Grand Finale
After your pie has chilled and you’ve lost yet another stare-off with your fridge, it’s time for the grand finale. Take that can of cherry pie filling, the diva of our ingredients, and pour it over the pie. It’s like rolling out the red carpet for our cherry starlet.
Once you’ve done this, it’s back into the fridge for one more hour of chilling. This is your chance for a rematch with the fridge. Who knows, you just might win this time!
The Aftermath
After the final chill, you’ll be left with a cherry pie that’s as delicious as it is beautiful. It’s a work of art, really. But remember, this pie is not just for looking. It’s for eating! So, grab a fork, dive in, and savor the sweet, cheesy, and tart symphony of flavors.
And that, my friends, is the tale of our cheesy cherry endeavor. It’s a journey filled with laughter, stare-offs with inanimate objects, and, most importantly, delicious food. Until our next culinary excursion, keep your oven mitts near, your ingredients closer, and your sense of humor always at the ready.